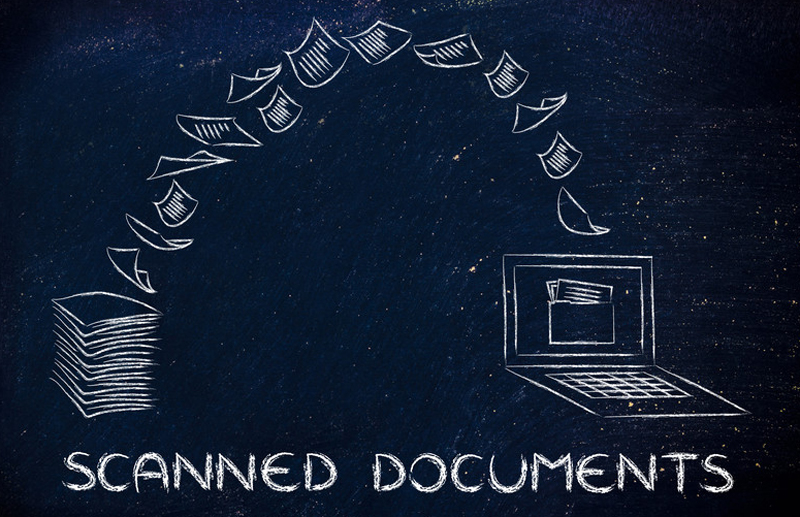
Many businesses are moving towards a paperless working environment. In fact, going paperless not only clears the clutter from your office environment but also allows companies to operate more efficiently. It also helps save money, reduce carbon foot print, minimize storage space, increase employee productivity and generate higher earnings. Partnering with an experienced document scanning company help scan all paper documents and convert them into digital format, relieving the business from the hassles associated with paper files. One of the key advantages of scanning paper documents is that it helps protect important documents from disasters. However, it must be possible to edit the scanned documents to make necessary modifications and maintain authenticity.

To edit scanned PDF documents, you can utilize free OCR services available online such as at www.onlineocr.net and www.newocr.com. You may have to register at the website to start using the service. Here are the steps for editing scanned documents.
- Scan the document in PDF. If possible, use black and white to make it easy for the characters to be recognized.
- Then open the online OCR service website. You can convert the scanned documents into plaintext, and you can then edit from here.
- Click choose file button, at the top of the page, which is grey in color. This will open the windows explorer or finder on mac.
- Select the scanned PDF file. For that you have to click the scanned PDF file’s location folder on the left side of the window.
- Click open. This will upload the PDF file to the website.
- Click PDF + OCR button which is at the bottom of the page. This will convert the uploaded PDF to text.
- Scroll down and click download button which is on the left side of the page. This will prompt a drop-down menu.
- Click Microsoft Word DOC, on the drop-down menu prompt.
- Now, edit the scanned document in Word and save the edited Word document as PDF.
By converting to Tiff format, PDF documents can be easily edited, modified and updated due to flexibility of the format. Here are steps to edit a Tiff file.
- Scan the document. Ensure that the edges of the document are smooth and precise.
- Scan the image in black and white to avoid errors and other issues of readability.
- Then save the file as Tiff file and not PDF.
- Click on the control panel – programs – program and features – download and install Microsoft office document imaging. Right click on the Word version and click change, then select add or remove features.
- After installing, load Microsoft office document imaging.
- Then open the scanned Tiff document to the program.
- Load Microsoft Word.
- Open a blank document and paste the content of the image file.
- After editing, save the newly edited version.
Alternatively, there are several OCR applications available to edit a scanned document. Some of them include ABBYY FineReader, PDFelement, PDF OCR and more.
Outsourcing document conversion services to a reliable document conversion company helps convert the document into there quired formats and also assists in editing the scanned documents.


